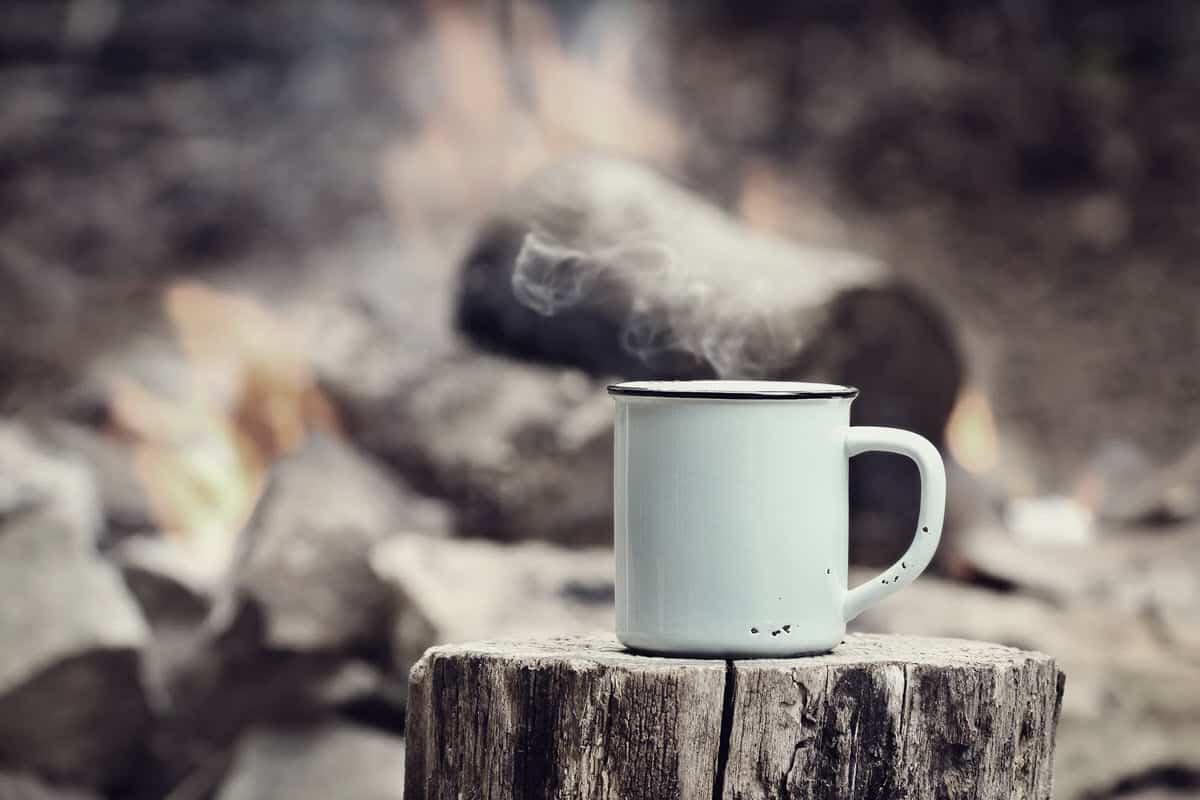
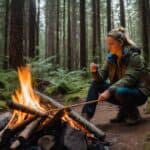
How do you make that perfect cup of coffee while camping?
The answer is simple: a camping coffee percolator.
This guide will teach you everything you need to know about how to use a percolator while camping.
Table of Contents
- Key Takeaways
- How to Make Coffee in a Camping Percolator
- Tips for Making Perfect Campfire Coffee
- Choosing the Best Camping Coffee Percolator
- How to Clean Your Camping Percolator
- Percolator vs. French Press: The Great Debate
- Final Thoughts on Brewing Coffee in a Camping Percolator
- FAQs
- Can I use any type of coffee in a camping percolator?
- How long does it take to brew coffee in a camping percolator?
- How do I clean my camping percolator?
- Can I use a camping percolator on a camp stove?
- What is the difference between coffee made in a percolator and a French Press?
- How much coffee should I use in a camping percolator?
- Can I keep coffee warm in a camping percolator?
- Can I flavor my coffee when using a camping percolator?
Key Takeaways
- A camping coffee percolator is an essential tool for any coffee-loving camper.
- The process of brewing coffee in a percolator is simple
- Proper cleaning and maintenance of your percolator will ensure its longevity.
- There are many ways to enhance your coffee experience while camping, from choosing the right coffee to adding flavors.
How to Make Coffee in a Camping Percolator
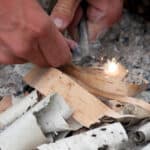
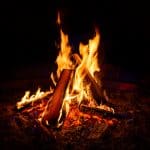
Step 1: Set Up Your Heat Source – The first step in brewing coffee with a camping percolator is to establish your heat source. Depending on your camping setup, you have several options:
- Campfire: The traditional method for many campers. If you’re using a campfire, ensure it’s safely contained and has a stable area to place your percolator. If you have a fire pit cooking grate, placing your percolator on top of it is ideal. If not, you can position it over a bed of coals.
- Camp Stove: A portable camp stove can provide a more controlled heat source. Light the stove according to the manufacturer’s instructions and adjust the flame to medium heat.
- Grill: If your campsite has a grill, you can use it as your heat source. Just place your percolator on the grill grate over medium heat.
- Stovetop: If you’re RV camping or have access to a cabin with a kitchen, you can use a stovetop. Place the percolator on the burner and adjust the heat to medium.
Step 2: Prepare Your Percolator – Next, measure out 6 fl oz of filtered water for each cup of coffee you plan to make. Pour the water into your percolator, making sure not to fill it beyond the bottom of the spout.
Step 3: Set Up the Basket – Your percolator works by forcing boiling water up a stem and into the brew basket, where the coffee grounds are. To prepare this, first attach the basket to the stem. Then, add your coffee grounds. The ideal ratio is two tablespoons of coffee for each cup you’re making. If your basket includes a filter, ensure it’s properly positioned to prevent grounds from entering the brew.
Step 4: Assemble the Percolator– Now, place the stem with the attached coffee basket inside the percolator pot. Ensure it’s properly positioned, then secure the lid tightly.
Step 5: Begin the Brewing Process – Place the assembled percolator over the fire and wait for the water to boil. As soon as the water starts boiling, move the percolator away from the direct flame to lower the heat. This will prevent your coffee from becoming too bitter.
Step 6: Percolate – Allow your coffee to percolate for between 5 to 10 minutes. You can monitor the brewing process through the transparent dome on the lid of the percolator. Watch as the coffee darkens and stop the process once it reaches your preferred strength.
Step 7: Enjoy Your Coffee – Finally, carefully remove the percolator from the fire, pour your freshly brewed coffee into your cup, and savor the taste of campfire coffee made to perfection.
Remember, practice makes perfect. Don’t worry if you don’t get it right the first time. With a bit of practice, you’ll be making perfect coffee on your camping trips in no time.
Tips for Making Perfect Campfire Coffee
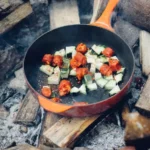
Just because you’re camping doesn’t mean you can’t have a great cup of coffee. If you don’t like black coffee, consider bringing some creamer or milk. You can also flavor your coffee with a bit of cinnamon or even chocolate syrup, if you’re willing to carry it.
Choosing the right coffee is also essential. Even without a fancy coffee maker, a good brand of coffee can still make a great cup. Some brands even offer blends specifically made for use with a camping coffee percolator.
Remember, practice makes perfect. Don’t worry if you don’t get it right the first time. With some practice, you’ll make perfect coffee on your camping trips in no time.
Choosing the Best Camping Coffee Percolator
When choosing the best camping coffee percolator, there are a few things to consider. First, you’ll want to look for a traditional percolator that can be used on a camp stove or over a campfire. Electric percolators won’t be of much use in the wild!
The size of the percolator is also essential. You’ll want a larger percolator if you’re camping with a large group. Some percolators can brew up to 50 fl oz of coffee, enough for 8 cups. Remember, a traditional coffee cup is 6 fl oz, so choose a percolator that meets your needs.
Some percolators come with a permanent filter in the spout, which is great for keeping coffee grounds out of your cup. You can skip this feature if you are okay with the occasional coffee ground in your drink.
Lastly, try to find a percolator that keeps the coffee warm for longer. You never know when a hot cup of coffee will come in handy during your camping adventures!
How to Clean Your Camping Percolator
Proper care and maintenance of your camping percolator will ensure it lasts for many camping trips to come. After you’ve enjoyed your coffee, disassemble the percolator and clean each part thoroughly. If you’re cleaning it in a river, avoid dropping any parts in the water.
Let the percolator dry before reassembling it and packing it away. Keeping it in its original box can help protect it during transport.
Once a month, consider cleaning it with a water and vinegar solution to remove coffee stains. This can be done at home – no need to bring a bottle of vinegar on your camping trip!
Percolator vs. French Press: The Great Debate
Some people prefer using a French Press when it comes to brewing coffee while camping. However, in terms of portability, the percolator wins hands down. French Press machines often have glass parts, which can be risky for camping trips.
While a French Press can produce a robust, full-bodied brew, percolator coffee tends to be stronger, albeit sometimes over-extracted and bitter. It’s a choice between flavor and strength.
A French Press brew is also ready in 5 minutes, while a percolator can take up to 10 minutes. Plus, a percolator is easier to clean than a French Press, which has several small parts that can be difficult to manage on a camping trip.
Final Thoughts on Brewing Coffee in a Camping Percolator
A camping coffee percolator is a must-have for any coffee-loving camper.
It allows you to enjoy a hot, fresh cup of coffee in the great outdoors, enhancing your camping experience.
With the right percolator, coffee, and practice, you’ll be brewing the perfect cup of coffee on your camping trips.
FAQs
Can I use any type of coffee in a camping percolator?
Yes, you can use any type of ground coffee in a camping percolator. However, some brands offer blends specifically made for use with a camping coffee percolator.
How long does it take to brew coffee in a camping percolator?
It can take anywhere from 5 to 10 minutes to brew coffee in a camping percolator, depending on how strong you like your coffee.
How do I clean my camping percolator?
After use, disassemble the percolator and clean each part thoroughly. Let it dry before reassembly. Once a month, clean it with a water and vinegar solution to remove coffee stains.
Can I use a camping percolator on a camp stove?
Yes, a camping percolator can be used on a camp stove or directly over a campfire.
What is the difference between coffee made in a percolator and a French Press?
Coffee made in a percolator tends to be stronger and sometimes more bitter, while coffee made in a French Press is often more robust and full-bodied. The choice between the two often comes down to personal preference and the practicality of carrying a French Press on a camping trip.
How much coffee should I use in a camping percolator?
The general rule of thumb is to use two tablespoons of coffee per 6 fl oz cup of water. However, you can adjust this to taste.
Can I keep coffee warm in a camping percolator?
Some camping percolators are designed to keep coffee warm for longer periods. However, it’s best to drink your coffee soon after brewing for the best flavor.
Can I flavor my coffee when using a camping percolator?
Absolutely! You can add flavors like cinnamon or even chocolate syrup to your coffee. However, I’d recommend that you add the flavoring to your coffee cup rather than directly in the percolator.

Leave a Reply